
27 Jun Chippings on the wall, how to avoid them?
Chippings on the wall are one of the most common problems in home maintenance. These defects not only affect the aesthetics of the rooms, but can also be indicative of more serious underlying problems.
From our position as a professional company, in Humilogic in today’s article, we want to talk about this problem that affects more and more homes.
Contenidos
What are the chippings on the walls?
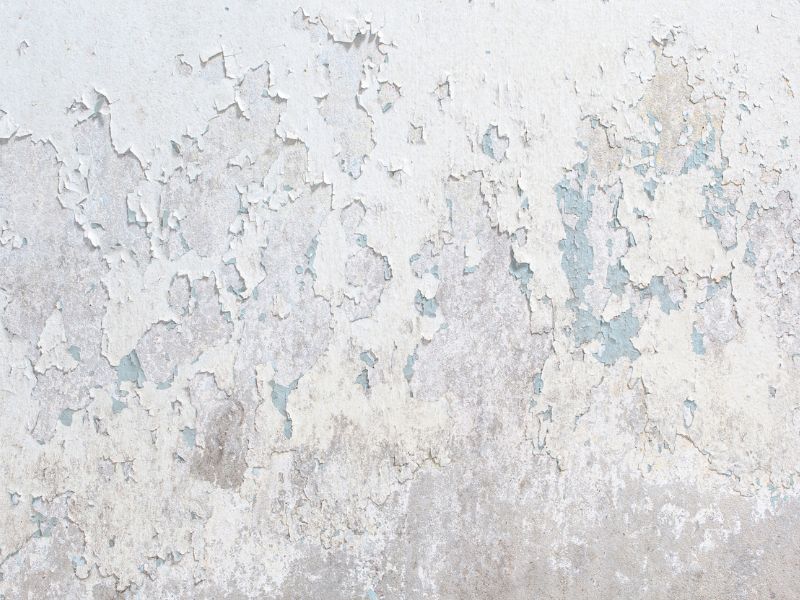
These are areas where the paint or coating has come off, exposing the underlying surface. These defects can be caused by various factors, such as moisture, poor surface preparation before painting, the use of low quality materials, or natural wear over time. Chipping not only affects the aesthetics of the space by totally damaging the area, but can also be indicative of major problems, such as water leaks.
How to prevent chipping on the wall
To prevent moisture chipping, it is crucial to control moisture sources in your home. Make sure the roof is in good condition and there are no leaks. Repair any leaks in pipes and improve ventilation in wet areas using air extractors and dehumidifiers if needed. Also, before painting, clean the walls well to remove dust, grease and dirt. Sand the surface if necessary to ensure good adhesion of the paint. Use a suitable primer to seal the surface and provide a solid foundation for the paint coat.
Do the chips on the wall smell bad?
Chippings on the wall don’t usually smell bad by themselves. However, if they are caused by moisture or water leaks, mold may develop behind the peeled paint. Mold, in turn, produces an unpleasant odor and characteristic of moisture or something “rusty”.
Common causes of chipping on the wall
- Humidity: is one of the main causes of chipping. Water infiltration through the walls can weaken the paint and plaster, causing them to fall off. This moisture can come from leaking ceiling, leaking pipes or poor ventilation.
- Poor surface preparation: painting on a dirty, dusty or greasy surface can prevent the paint from sticking properly, which can eventually lead to chipping. Also, not using a proper primer before applying the paint can have the same effect.
- Use of low-quality materials: paints, primers and low-quality sealants can result in lower adhesion and durability, causing paint layers to be chipped over time.
What to do if they have already appeared
Before proceeding to repair the chippings, it is essential to identify and solve the cause of the problem on the relevant wall. If humidity is the problem, address leaks or improve ventilation first.
Chip repair
- Cleaning and preparation: scrape off the loose paint and sand the edges of the chipper to smooth the surface. Clean the affected area to remove dust and debris.
- Apply primer: apply a primer layer to the repaired area to ensure good adhesion of the new paint.
- Fill cracks: If there are cracks or holes, fill them with wall putty and smooth the surface with a spatula. Allow to dry completely before sanding to obtain a uniform surface.
- Paint: apply the finishing paint to the repaired area. It may be necessary to apply several layers to match the color and texture with the rest of the wall.
If you do not want them to appear on your wall, do not hesitate to contact us.